
This article will show you how to share a contract draft upon its creation automatically.
It contains the following topics:
- Using the "share document" automation action
- Video tutorial
- Configuring the automation trigger
- Deleting an automation trigger
- Configuring the automation action
- Renaming the automation
- Making changes to published automation
- Using the activity feed of automations
- Testing the automation workflow
- Fixing a failed automation
- Checking a successfully run automation
How to use the "share document" automation action?
You can automatically share a new draft with your teammates or external collaborators as soon as it has been created (as an example, which we will configure in this article, but you can also select to share the document when a Draft is updated or a Contract is signed).
Example usage:
- An "Employment Contract" is Signed by the contract owner and a new company hire.
- Then, automatically Share the document with full access given to the HR assistant.
- Automatically Create a reminder for salary negotiation assigned to the HR Assistant.
Video tutorial
Here is a short video tutorial of the automation setup, and a step-by-step guide follows right after:
Click on the Automations tab from the main menu and then the blue button Create new at the upper right-hand corner.
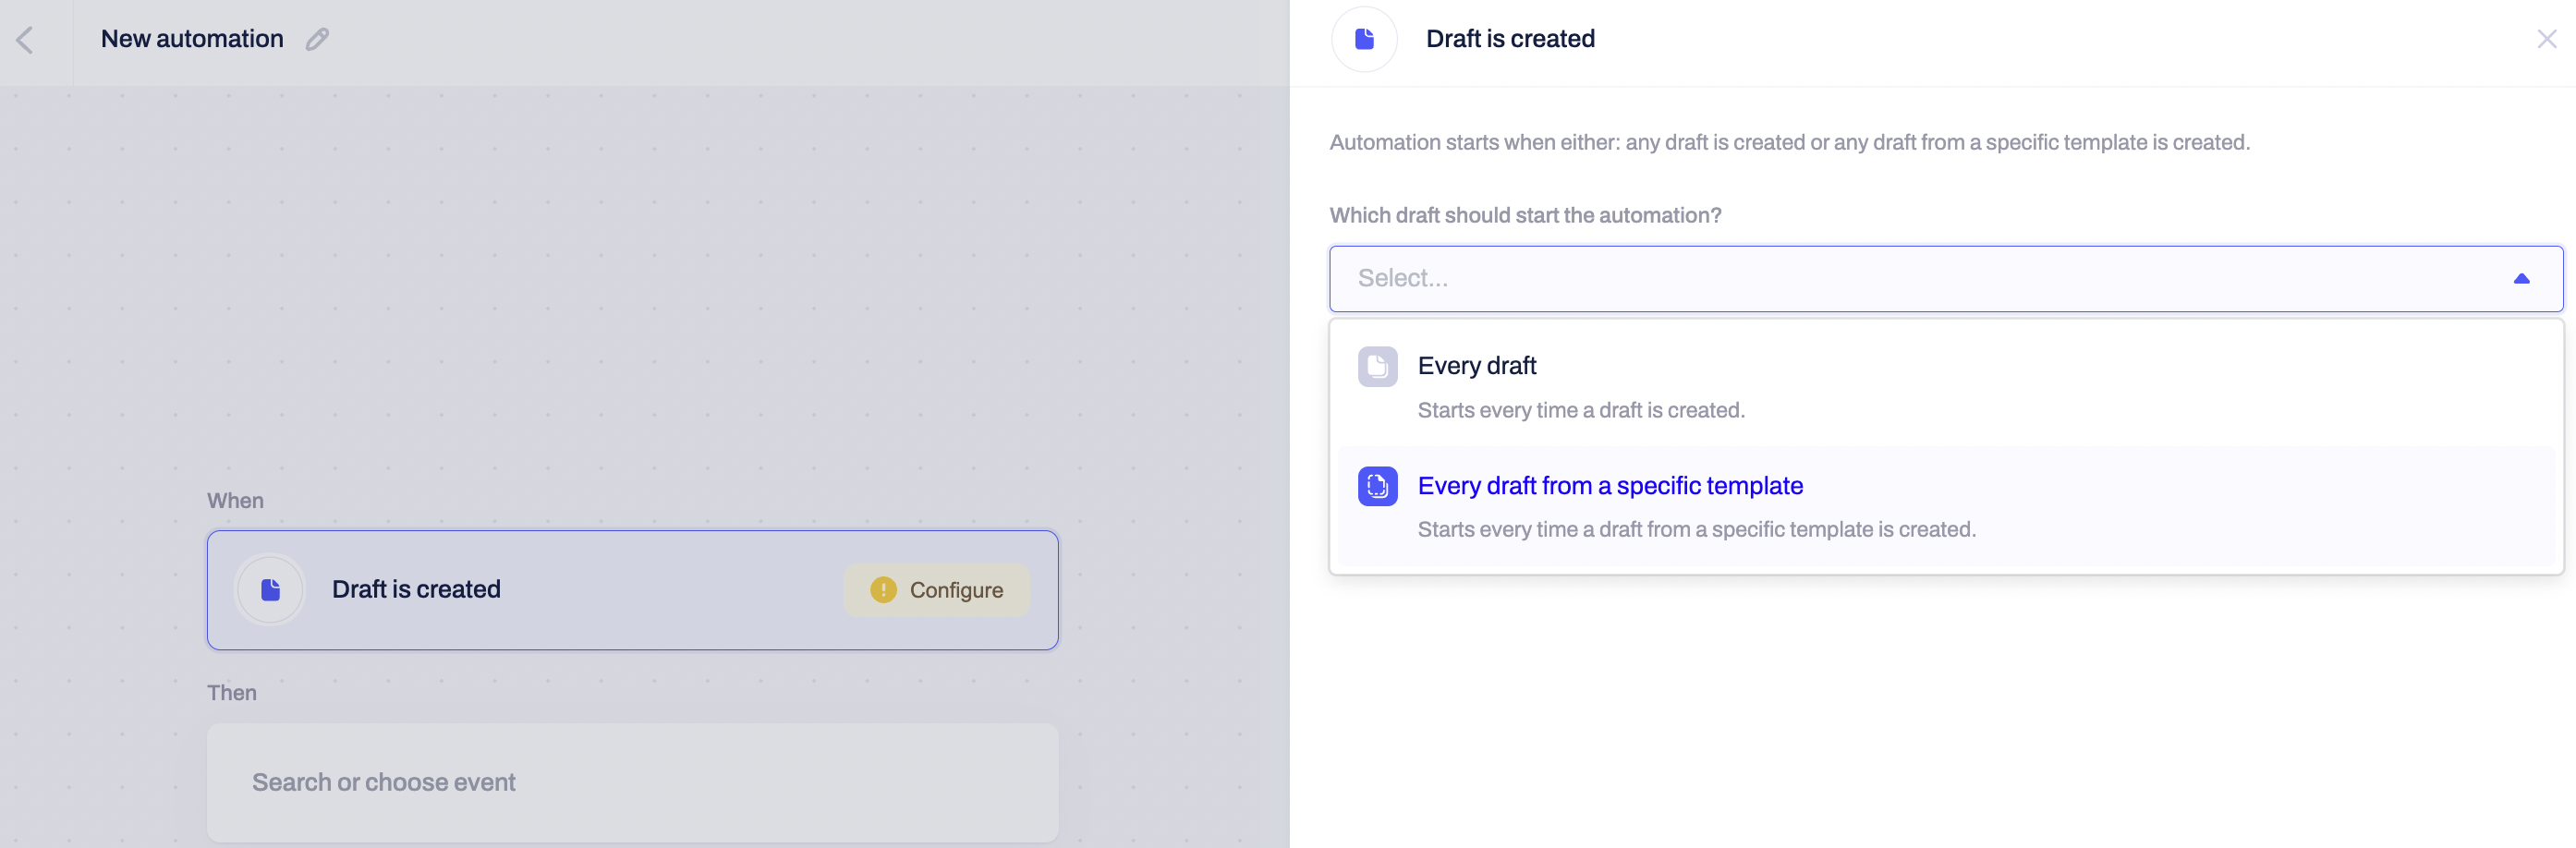
How can I configure the trigger event?
- You will be redirected to a pop-up window where you can customize the automation's setup.
- To begin with, select the Draft is created trigger from the drop-down menu.
- This will automatically open a configuration window to the right in which you can define which contract draft should start the automation.
- You can assign the trigger to every draft you create in general or only a draft from a specific template. For our automation flow, we will use Every draft from a specific template:
- If you selected the second option, as we did, you could use the search bar to find the template you want.
In our example, we will pick "Employment contract":

- If you have several templates sharing the same name, click the small eye icon to open it directly for review.

- After choosing the correct template, confirm by clicking Save, and the next step in the automation setup will be displayed.
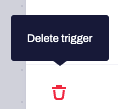
How can I delete the trigger in the automation builder?
- At the bottom of each trigger configuration window, you have the option to delete only this specific trigger and not the complete automation:
How can I configure the action event?
- This step covers the action that will be automatically triggered.
- You can use the search bar to locate the option Share a document:

- A new configuration window will now appear on the right side of the screen.
- Here you will be able to define the parameters of the shared draft, including collaborators, their permissions, and the email message sent to them.
Document ID configuration:
- The first detail of the automation configuration is the Document ID.
- It will be automatically fetched and available in the required field in the Share a document window.
Email message configuration:
- You can customize the message, which will be emailed to the selected collaborators you share the draft.
To compose the message, you can type in any text input and combine that with variables (data fields) from the document used in the trigger event (draft is created) or use any party or signee variable. - You can do that by searching and populating the variables within the message field:

- Here is the message that the collaborators of our shared draft will receive via email along with the document:

Collaborators and permissions setup:
- Once you have customized the message, you can proceed with setting the collaborators who will receive the shared document and their Permissions in the draft:

Note: Just as sharing a draft or a contract manually, edit permissions will be granted only if the selected document is a draft. For pending and signed documents, collaborators will be granted view permission only:

You can utilize any Party or Signee variable under the Variables tab when defining the draft's collaborators, manually type in, or select their details from your Contact list under the People tab:

How can I assign data fields to the chosen collaborators?
All permissions higher than "Fill document" will allow you to assign all, or choose specific data fields to be assigned to the collaborator:
Read more about assigning data and metadata fields in your documents here.
How do I use Party or Signee variables in my automation?
- You can also use any pre-existing Party and Signee variables to auto-populate the Party and Signature fields of the automatically shared draft.
- Another possible use of the variables is to automatically display the names of both Signees in the new draft's title.
- Here is a link to our article to help you with the details of using Party or Signee variables in Contractbook in-app Automation Builder.
Note: You can add a collaborator by email, either from the Variables or People tab.
If you want to use a variable from any Data field in your document, make sure the Data field contains an email address. If the Data field includes a name or any other contact detail instead, that will not be sufficient to identify the collaborator:

You can add as many collaborators as you need and select their permissions individually:

Here is what the list of collaborators looks like in our example of a draft share automation:

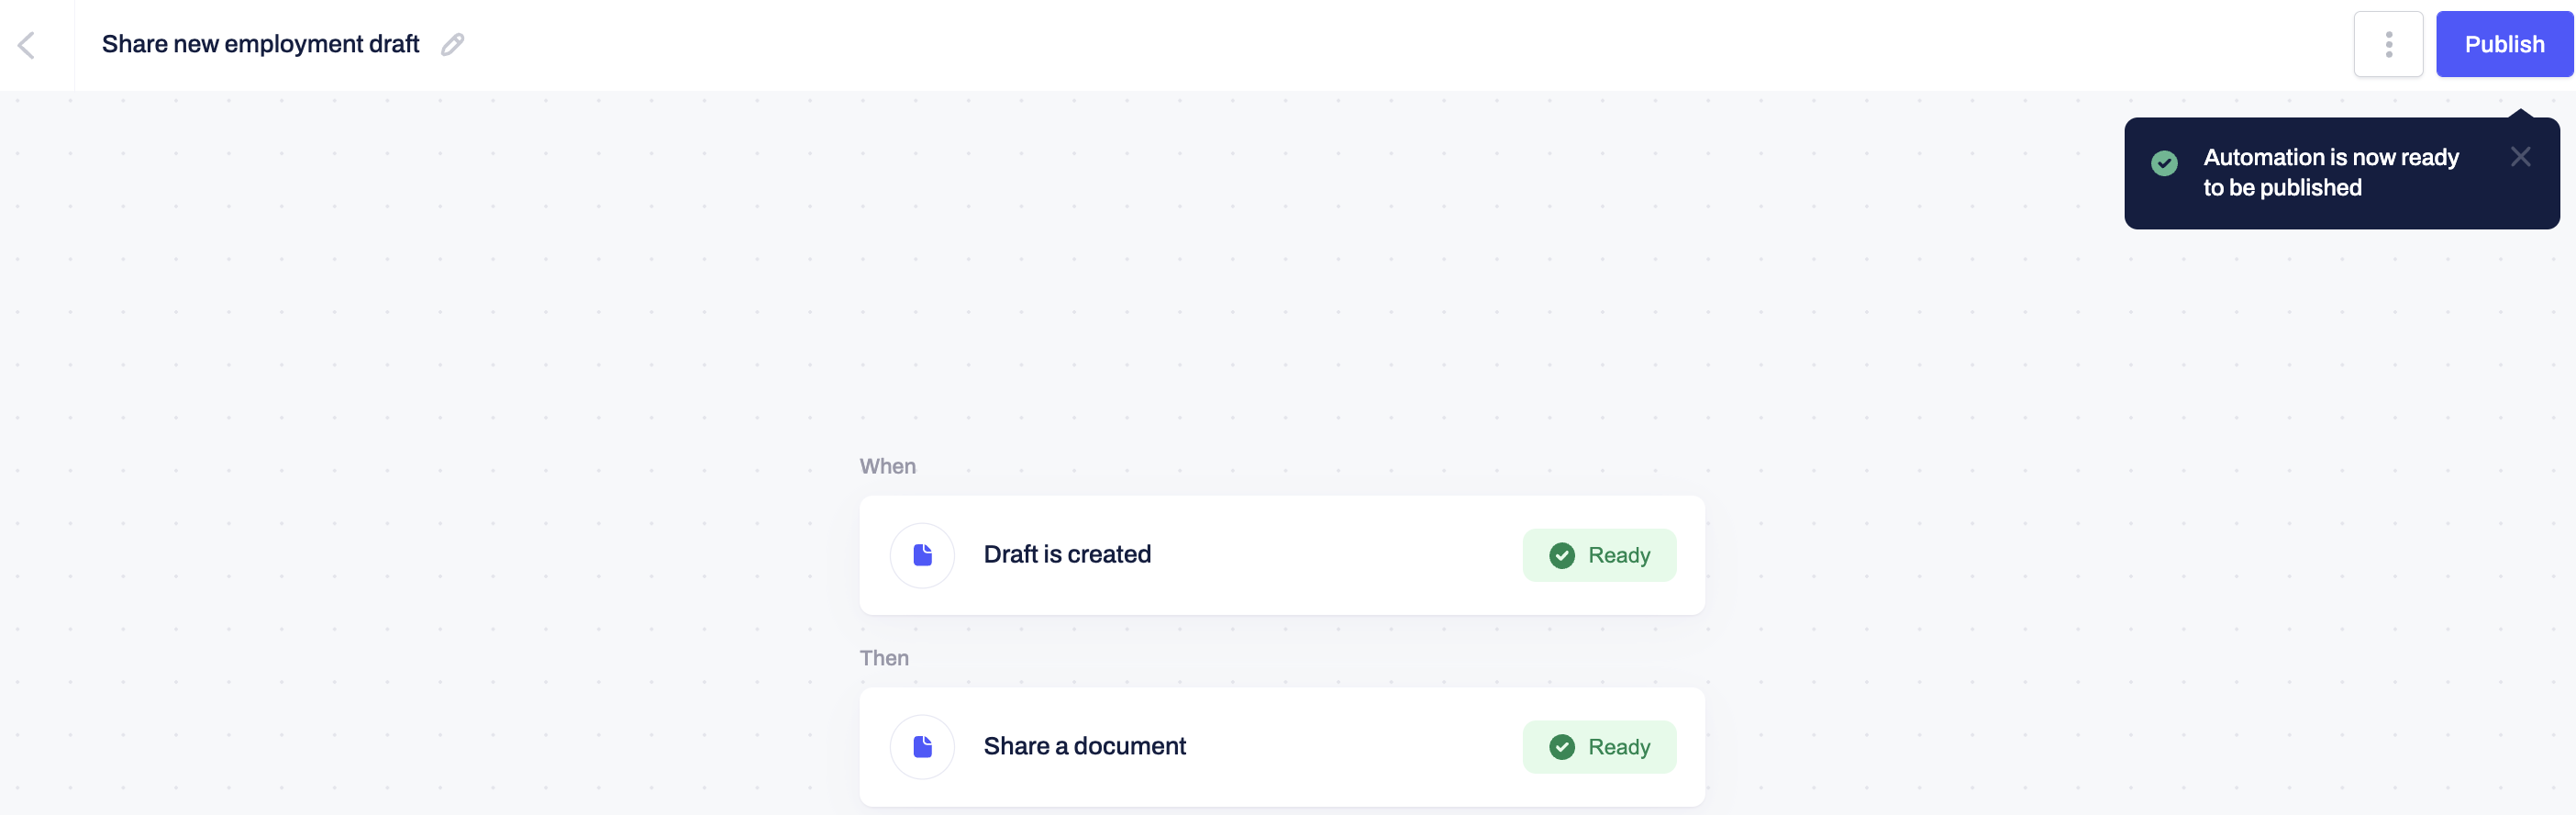
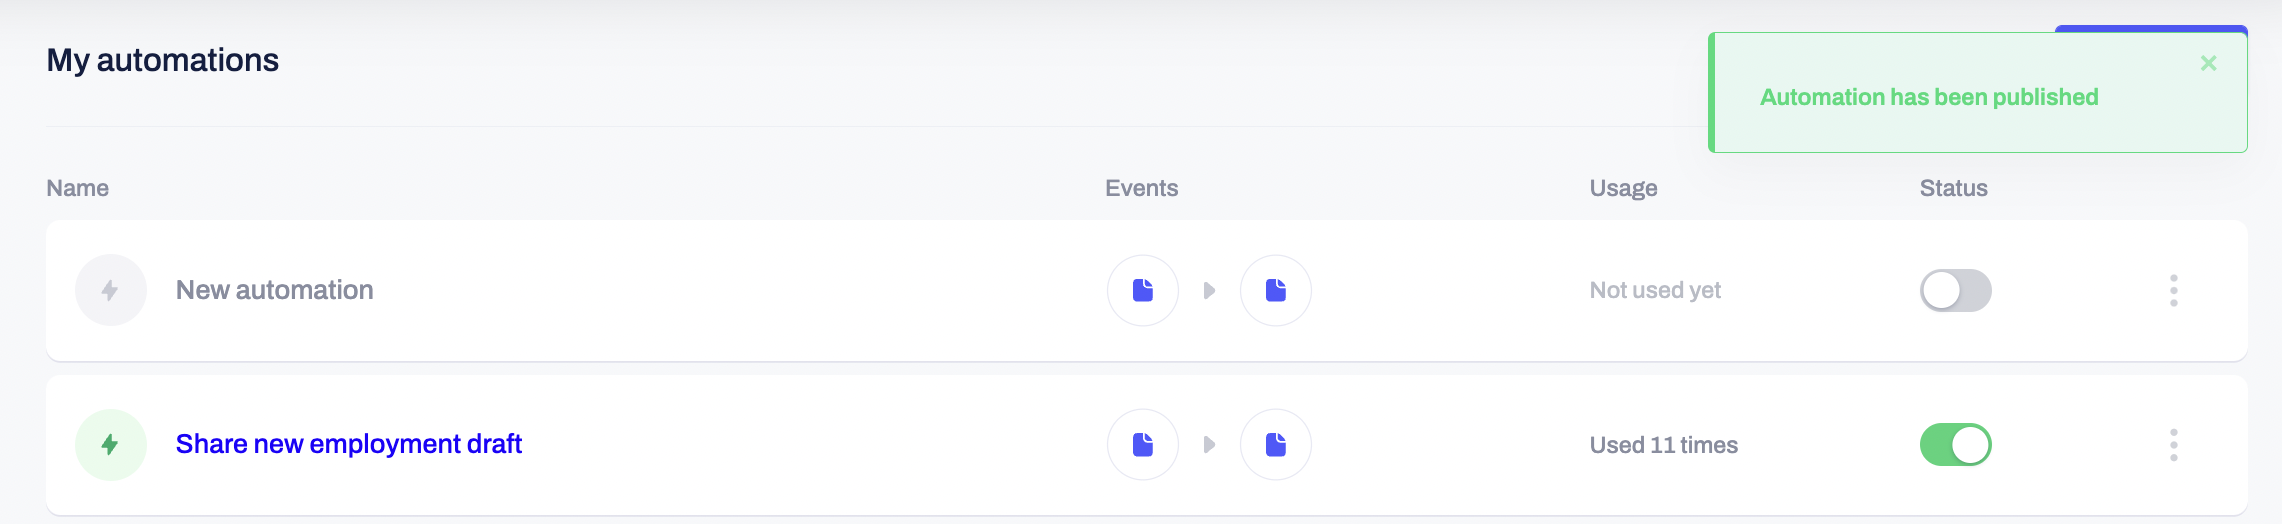
Once you finish the automation setup, click Save to confirm the automation configuration and then Publish in the upper right-hand corner to set it into active use.
How can I rename the automation?
- You can always rename the automation and its steps as you find fit by clicking on the small pen icon next to the generic title in the upper left-hand corner.
- In the example we are working with, let us call it "Share new employment draft":
How can I make changes to published automation?
- Note: If at one point you need to make any changes to the automation, remember to unpublish it first, then make the necessary edits and click again on Publish to put the flow into practice.
- You can control that by turning the Status toggle bar on or off:
How can I use the Activity feed of my automation?
- If you click on the three grey dots next to the status toggle bar, you can open, rename, delete, or see the activity feed of the automation.
- Remember that the automation must be active (published) for the activities to be available and inactive to be deleted.

- In the activity sidebar, you can see all the details of when the automation was used and the steps taken before it was triggered.
- Click the small arrow next to the date and time to expand the details.
- You can also click on both drafts from this view - this will automatically open them for review:

In addition, you will always be notified in-app in the Notifications at the top navigation bar as soon as any of your automation flows has been executed:

Note: You can adjust your account's email and in-app notifications under Profile Settings.
How can I test the automation?
- For the test to be performed, you can generate a new draft from the template you used in the first step of the automation setup and, if needed, fill in any of the data fields or body text.
- When the draft is created and saved, go back to your documents overview and check the notifications under your account.
- The automation status will be listed there as either successful or failed.

How can I fix a failed automation?
- In case the automation has failed, you can access the detailed view by clicking on the failed notification in the list under your profile notifications:

- In this view, you can identify the reason for the failure by expanding the inability to run details. You can then use the information found here to make the necessary changes.
- In the case above, we need to return to the "Employment contract" template used in the first automation step and change the data field used to fetch one of the collaborators to an email address.

Each collaborator is identified by email address, and the value used in the automation setup data field must be matched.
How can I check the automation runs successfully?
- If the automation has run successfully, you can find the newly created draft shared with the collaborators you have configured under the second automation step.
- Click on the draft's name from the activity feed to open and review its details.
- Now that you have tested the automation workflow, you can use it to save time, reduce errors, and scale your business by automatically sharing a new draft with the relevant parties.
If you need additional information or assistance, contact us anytime via our Support Chat or email.