In this article, we will show you how to automatically trigger a custom event upon a respondent's completion of a form.
It contains the following topics:
- Using "form is completed" automation trigger
- Building form workflows from scratch
- Video tutorial
- Configuring the automation trigger
- Configuring the automation action
- Using the details automation tab
- Using party and signee variables in automations
- Using the data automation tab
- Using the attachments automation tab
- Files allowed for attachment in the automation builder
- Using the other automation tab
- Publishing the automation
- Testing the "form is completed" automation
How can I use the "form is completed" automation trigger?
There are many possible ways of using the automation builder trigger "form is completed."
For instance, completing a new hire form can trigger the creation of an employment contract in Contractbook and send a Slack message to notify relevant stakeholders about it.
As an example within this article, we will configure the completion of a loan agreement form that will trigger the creation of a new "Loan agreement" draft in Contractbook, including all the details filled in the form by the respondent.
You can always combine the workflow with other automation actions, such as "add to a shared folder." You can find a complete list of all automation actions here.
How can I create the automated flow with forms from scratch?
- Click here to get complete guidance on the automated forms workflow, including dynamic templates, forms setup, and automation builder configuration:
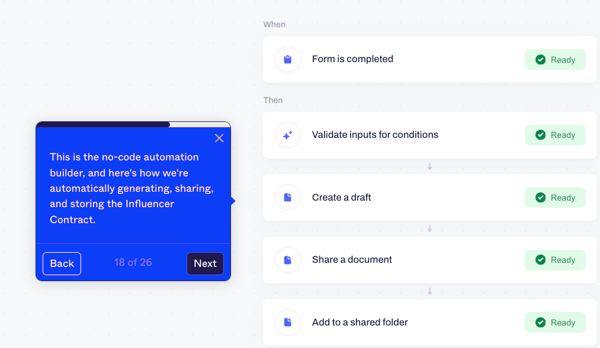
Here is a short video tutorial of the automation setup, and a step-by-step guide follows right after:
How to set up custom automation based on a completed form?
How to automatically create a new contract draft once a form is completed?
Configuring the automation trigger:
- Click on the Automations tab from the main menu and then on the blue button Create new at the upper right-hand corner.
- You will be redirected to a pop-up window where you can customize the automation's setup.
- To begin with, select the "Form is completed" trigger from the drop-down menu.
- This will automatically open a configuration window to the right in which you can define which form's completion should start the automation:
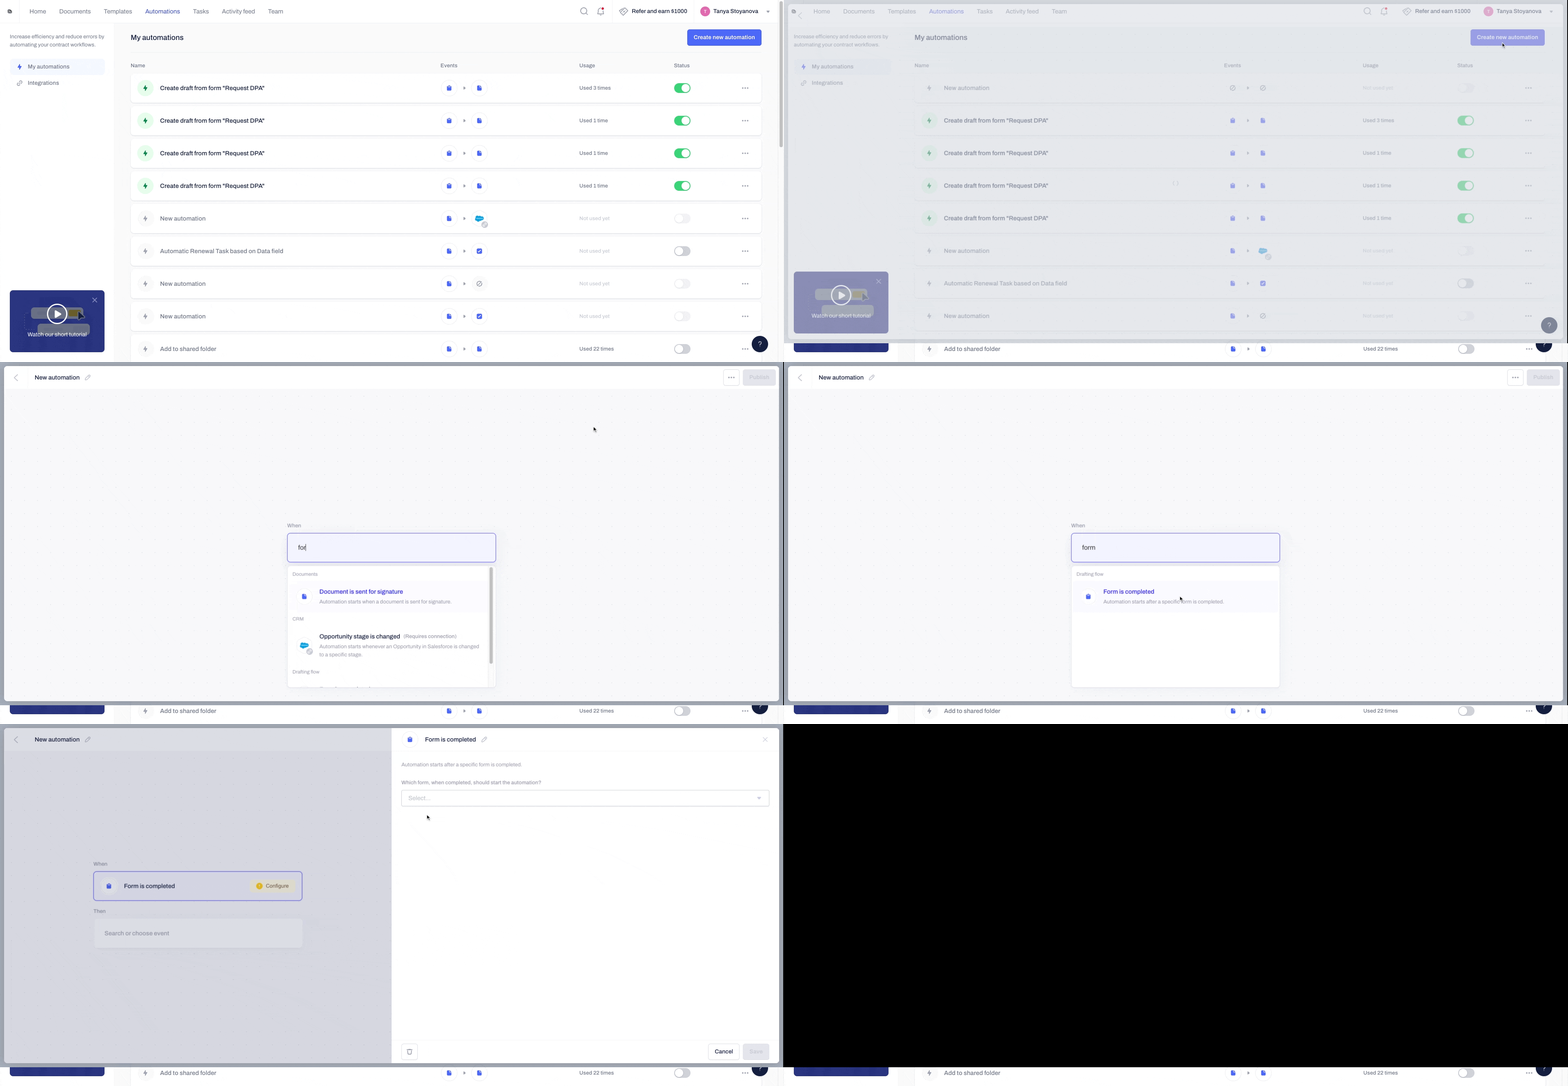
- Assign the trigger to the correct form you need.
- All available under your account forms will be listed under the list:
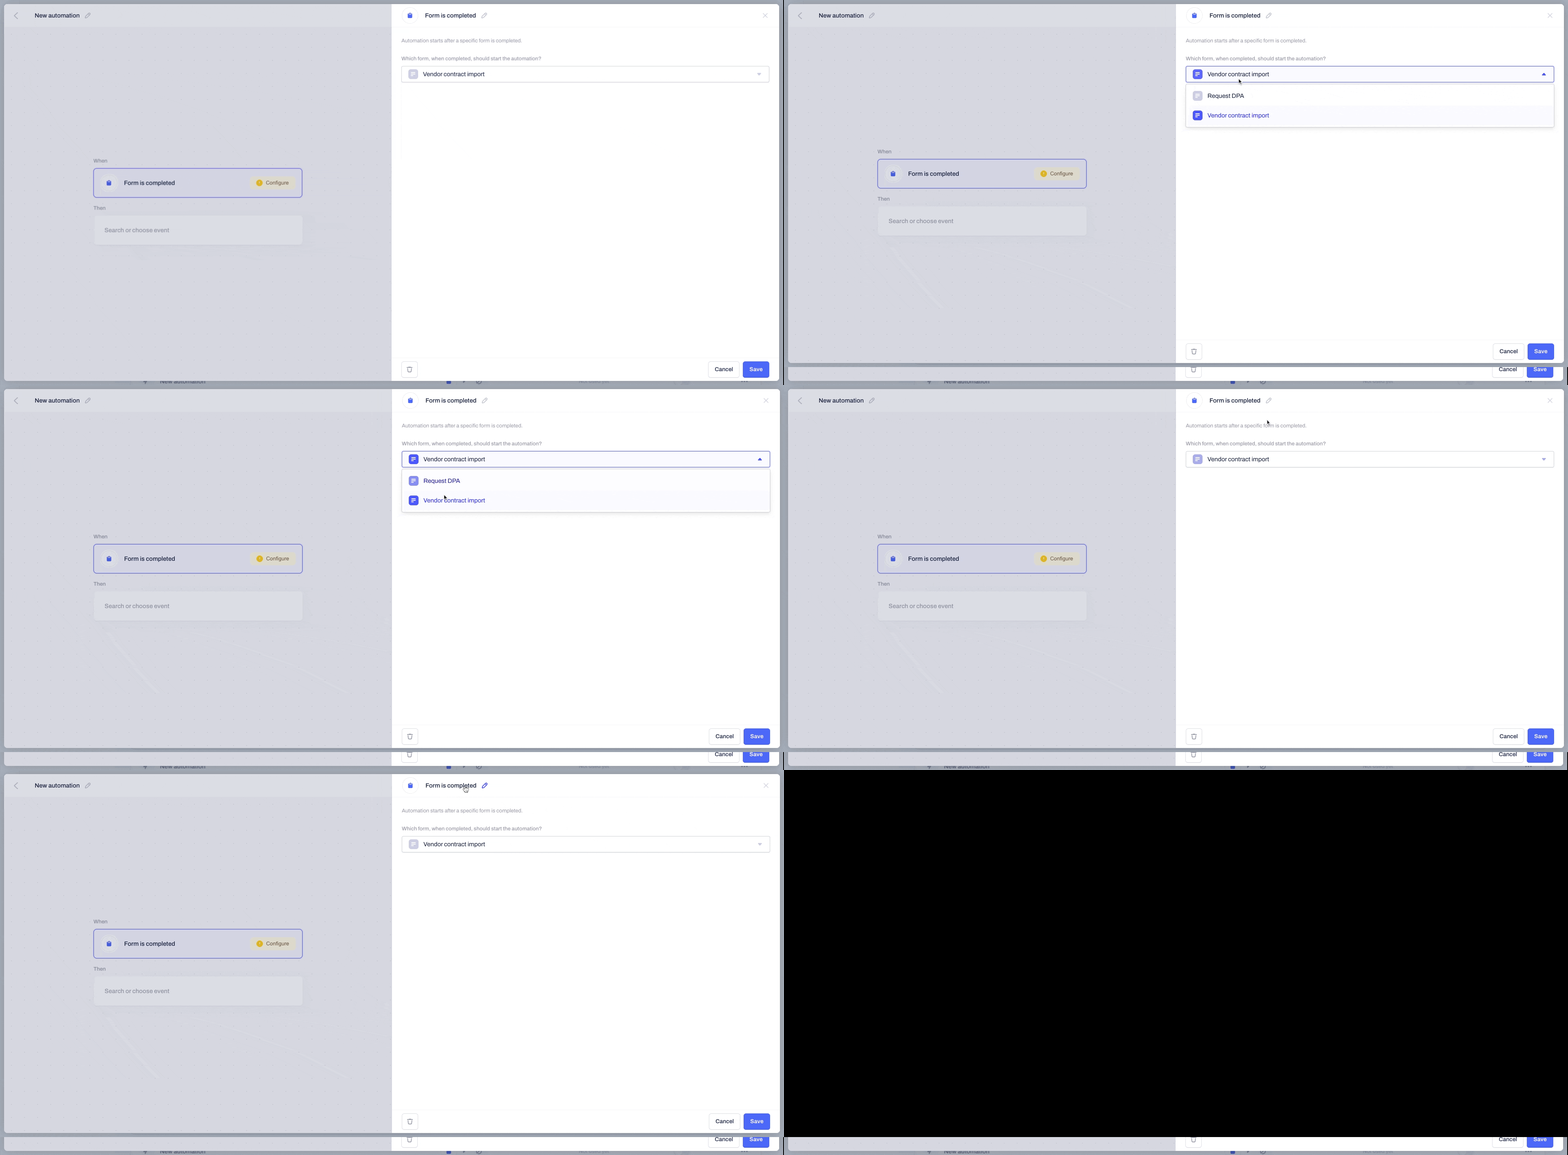
- After choosing the correct form, confirm by clicking Save, and the next step in the automation setup will be displayed.
Configuring the automation actions:
This step covers the action (or several actions) which will happen automatically when the form is completed.
- You can use the search bar to locate the option Create a draft.
- A new configuration window will appear on the right side of the screen.
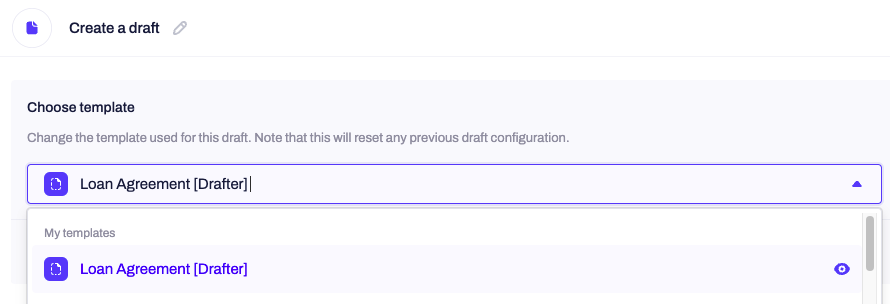
- Start by selecting the template which will be used to create the draft.
- You can search for the template by name in the drop-down list.
- Remember to use the small eye icon to review the document if you want to make sure this is the exact template you want to select:
- Once the selection is made, you can customize and complete the draft, which must be created by defining which data fields from the template must be auto-populated in the body text, parties, and signees sections.
How do I use the details tab?
- Use the details tab of the configuration to start with naming the draft which will be created, then fill out the party and signee details.
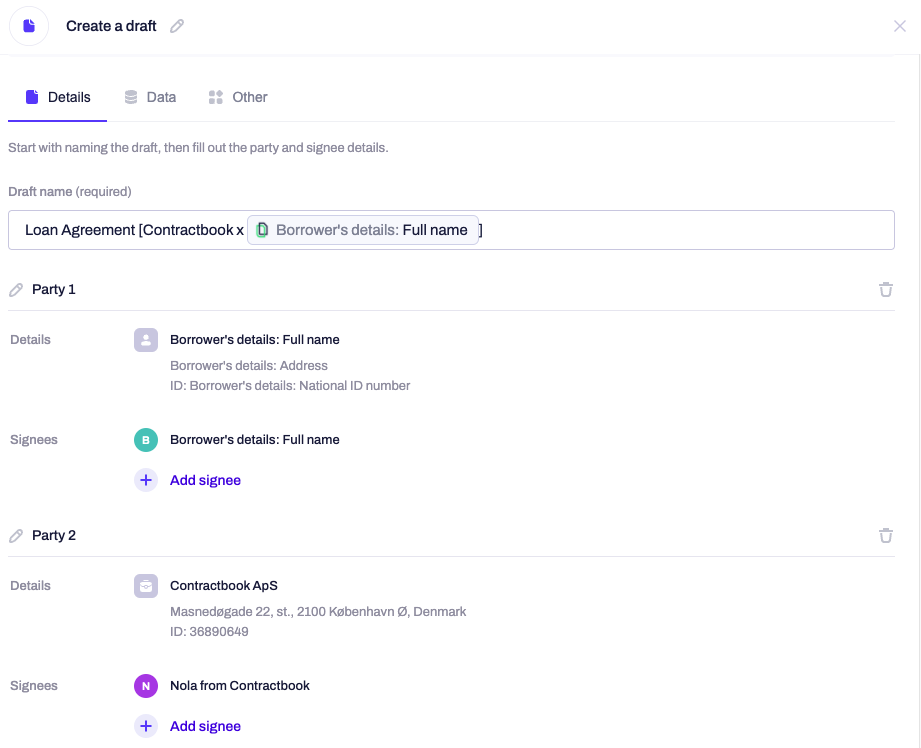
- You will be able to use all the data fields connected to the answers from the filled-in form (the one you have chosen in the previous setup step) and auto-populate them into the respective party and signee fields of the automatically created draft - all of this can be done under the data tab:
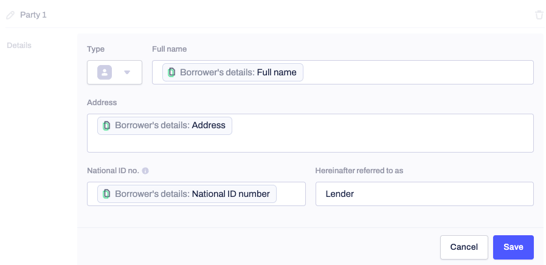
- Once the party you need is defined, you can then associate the needed signee's details with it from the field underneath:

- You can add signees to the same party directly in the automation builder, allowing you to sign the draft with multiple signees from one party.
How do I utilize the details tab to use party or signee variables in my automation?
- You can also use any pre-existing party and signee variables to auto-populate the party and signature fields of the automatically created draft.
- Another possible use of the variables is to display the names of both signees directly in the new draft's title by automatically fetching their properties.
- Here is a link to our article to help you with the details of using party or signee variables in the automation builder.
- Alternatively, you can fill in the properties of each field manually, as we have done in the example of the second party and the associate to its signee:


- Continue adding as many parties and signees as you need for the draft, and once that step is completed, you can move to the data tab.
How do I use the data tab?
- Under the data tab, you can choose which data points (variables) from the form you would like to add to the body of the contract draft:
❗️Important: You can also use the completion timestamp in the list of data points under the data tab.
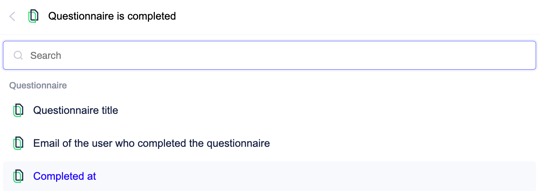
- To auto-populate the date of completion in the new draft, you can pick the "Completed at" forms variable from the drop-down list:
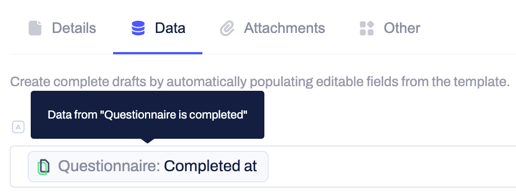
- The data will be automatically fetched from the completed form and then populated in the respective data field in the new draft, automatically created from the template you have selected in the previous step:
- Once you have added the data fields you wish to include in the draft, click Save, and you will get to the following configuration tab.
How do I use the attachments tab?
- After the data tab has been configured, you can proceed with utilizing the features of the attachments tab:
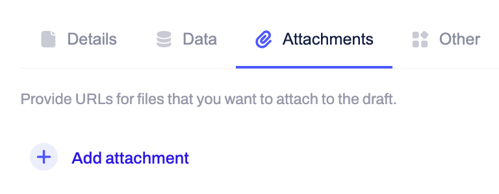
- You can use this tab to provide any direct URLs to files that will afterward be added to the draft created due to the automation structure.
- In the new draft created by the automation, all attached in this tab files will look just as if the attachments were manually uploaded through document editor:
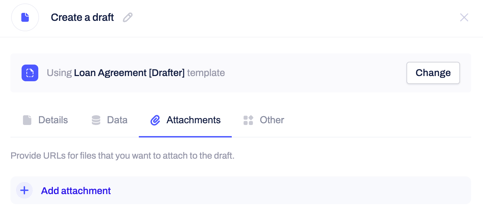
- All relevant previews will be auto-generated, and the attached files will run through OCR.
What type of files can I attach to the automation builder?
- The attachments can be up to 48MB each, and you can add a direct link to any of the following formats: CSV, doc, docx, jpg, jpeg, pdf, png, txt, xls, xlsm, or xlsx.
- In addition, you can fetch answers to file upload types of questions from your chosen form. You can then use these uploads as variables in the create a draft (or any other) action step:
- All available upload questions added to the form you selected in the previous configuration step will be available under the attachments tab. You can locate all the available options under the form variables that include URL in their name:
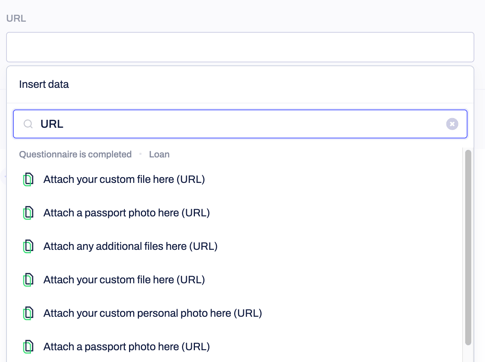
❗️ Important: If the Upload question you have added to your form has a loop logic applied to it, you will not be able to fetch the uploaded file and use it as a part of the automation setup of the new draft's creation under the attachments tab.
- Once you have completed the attachment configuration, confirm all settings by clicking Save, and the final step of the automation will be displayed.
How do I use the other tab?
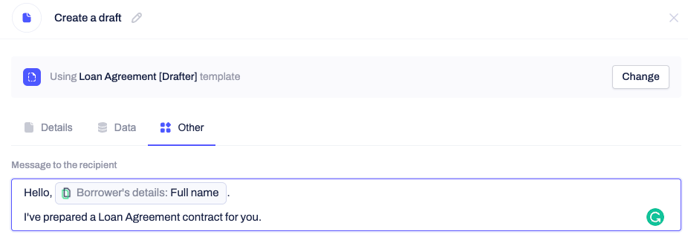
- You can use the other tab to customize your message to the draft's recipients by combining manual text input and data fields from the body of the draft:
How can I publish my automation?
- Lastly, you can give the automation a new name from the upper left-side corner (by clicking on the small pencil icon) and click on publish once the configuration is completed:

❗️Important: If you need to make any changes to the automation flow at one point, remember to unpublish it first, then make the necessary edits and click again on publish to put the flow into practice.
- You can control that by turning the Status toggle bar on or off:

- If you click on the three grey dots next to the status toggle bar, you can open, rename, delete, or see the activity feed of the automation.
- Remember that the automation must be active (published) for the activities to be available to see.
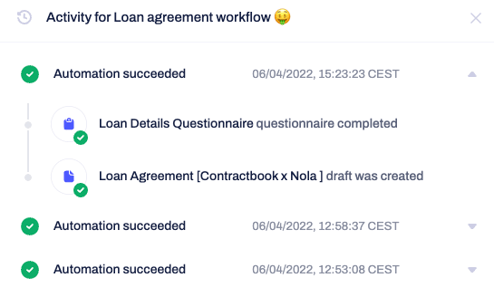
- This option allows you full traceability of the automation's usage and flow:

- In the activity sidebar, you can see all the details of when the automation was used and the steps taken before it was triggered.
- Just click on the small arrow next to the date and time to expand the details:
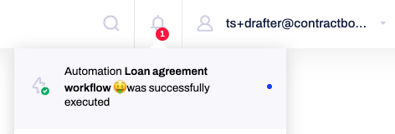
- In addition, you will always be notified in-app in the notifications at the top navigation bar as soon as any of your automation flows has been executed:
❗️Important: You can modify your email and in-app notifications under profile settings for your account.
How can I test the "form is completed" automation?
- Log in to partner tools with your account credentials, find the form you chose in the trigger event of the automation configuration, and click on it.
- Then go to the questionnaire tab and enter the preview mode of the questionnaire by clicking on the small eye icon on the right-hand side:
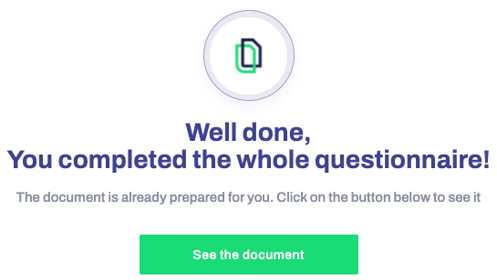
- This will allow you to fill in the form as any of the respondents would typically do:
- As soon as the form has been completed, go back to your Contractbook account and check the in-app notifications under your account.
- The status of the automation will be listed there as either successful or failed:
- If the automation has failed, you can access the detailed view by clicking on the failed notification in the list under your profile notifications.
- In this view, you can identify the reason for the failure by expanding the failure to run details. You can use the information discovered here to change the automation from the configuration settings.
- In case the automation has run successfully, you can open the new draft, which was created automatically by clicking on the link in the notifications window:

- The body of the draft must be auto-populated with all the data you inserted while filling in the form during the previous test step.
- The parties, signees, and their details should be the same as the properties you have chosen under the configuration of the second automation step (Create a draft).
- After testing the automation workflow, you can save time and effort with manual work by creating automatic workflows connected to a form's completion.
If you still need additional information or assistance, contact us anytime via our support chat or email.
