
You can create a new contract by using one of your templates and saving it as a new draft or starting from scratch.
- You can also sign a pre-existing .pdf, .doc, .docx, .png, and .jpg files:
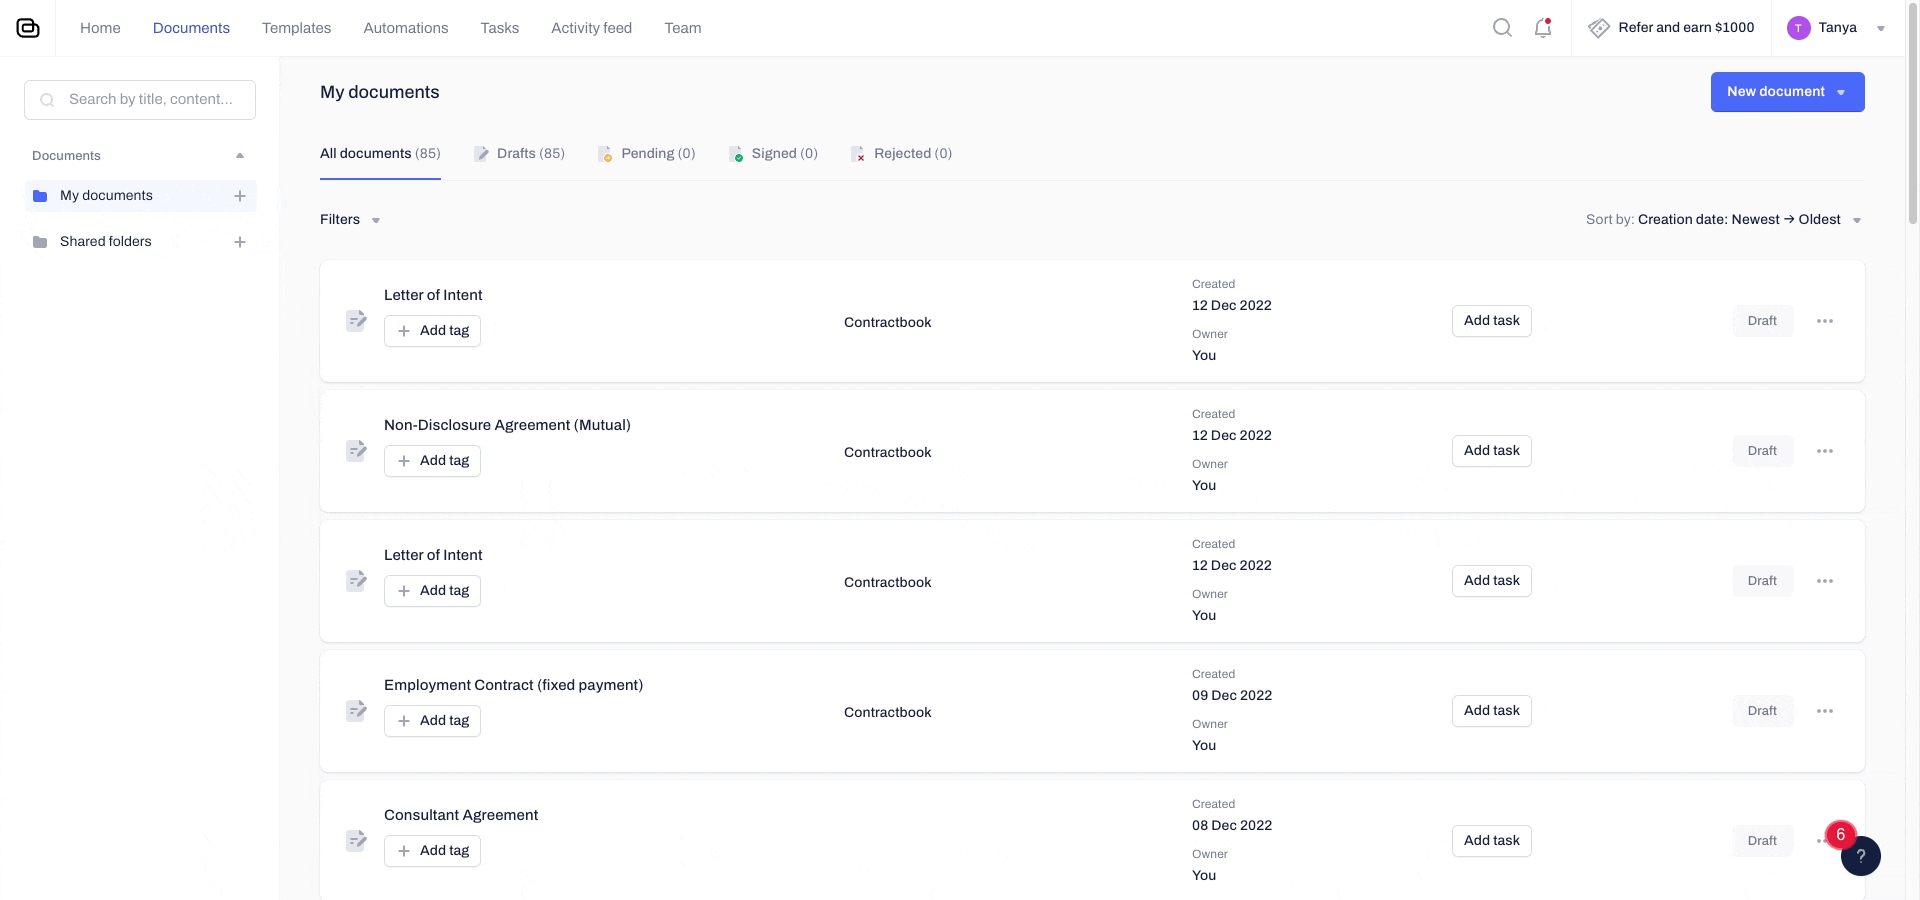
- Go to the Contracts menu:

- Click on the blue button New on the top left-hand side of the screen and choose to Create a draft to start working on a new contract draft:
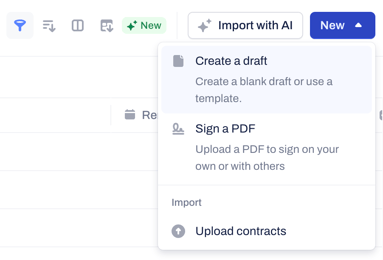
- You can choose to start with a new completely blank draft or create a draft from one of your own, shared in a Space or Contractbook premade templates.
- As a suggested workflow, we recommend you use a template and turn it into a new draft.
- You can also choose the option to Sign a PDF with Contractbook.
- This allows you to quickly and easily sign a pre-existing .pdf document or any of your .doc, .docx, .png, and .jpg files.
- Any of your attachments will be automatically scanned and their dates will be suggested for automated reminders and task creation.
- With our AI import feature, you can also enrich any pre-signed contract in the app.
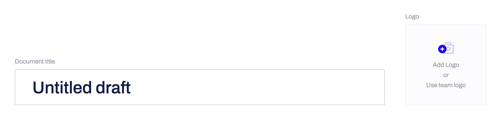
How can I add my company's logo to my contract?
- You can customize your contract by adding your company logo (click on Use team logo) or upload any other logo (click on Add logo):
Editing the body of my contract:
- If you are creating a contract from scratch, you can use the different features of the Contractbook editor to compose the contract's body.
- If you are using a template instead, you can adapt the contents precisely as they fit this specific contract you are currently working on.
- Remember that you need to save any template as a draft to turn it into a contract by initiating the signature process.
Using data fields in my contract draft:
- Read more about adding new or using the default data fields in your contract drafts here.
- If there are any requested by the contract's sender Data fields, remember to fill them in before sending the contract for signatures.
- You need to work in Create mode or have the Full-text editing option toggled on to fill in the values of any data fields.
- If you want your recipients to fill in the information in the data fields before they sign, you can follow this guide.
How can I go to the next data field in my contract?
By holding down the tab key, you will move right to the next data field in your contract.
This is more efficient than manually scrolling through the entire contract if you know the contents well and do not need to read them.
How can I enable my contract recipients to fill in the data fields I have added?
The recipient of the contract can fill in values in data fields.
Share the contract draft with them first and allow them one of the following permissions:
- Fill document: A collaborator can fill in the values of all Data fields available in the draft.
- Edit document: A collaborator can edit the entire body of the draft, including adding new or editing any existing Data fields.
- Full access: A collaborator has the same permission rights as the owner of the draft and can fully manage the draft.
Read more about sharing drafts with your collaborators here.
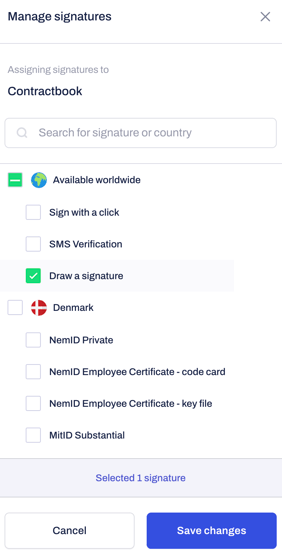
How can I change the signature type in my contract?
The default signature method for all your new drafts will be SMS verification method.
If you want to choose a different signature type, you need to:
- Click Change under the signature field.
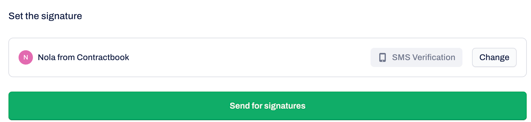
- Manage the signature type in the right-hand sidebar.
- Click Save Changes once your selection is completed.
How can I upload attachments to the contract?
- If you need to attach any appendixes, terms of service, etc., to the contract, you can do that from Add attachments section at the bottom of your draft:

Can I use the contract data in my automations?
After the body of your contract is completed, you need to make sure to define the recipients by populating the recipients' details across your Party and Signee fields.
- You can later on use all Data fields, Party, and Signee details across your automated workflows.
Contractbook touring - click here to get started 🚀
If you still need additional information or assistance, reach out to us at any time via our Online Support Chat or by sending us an email.